
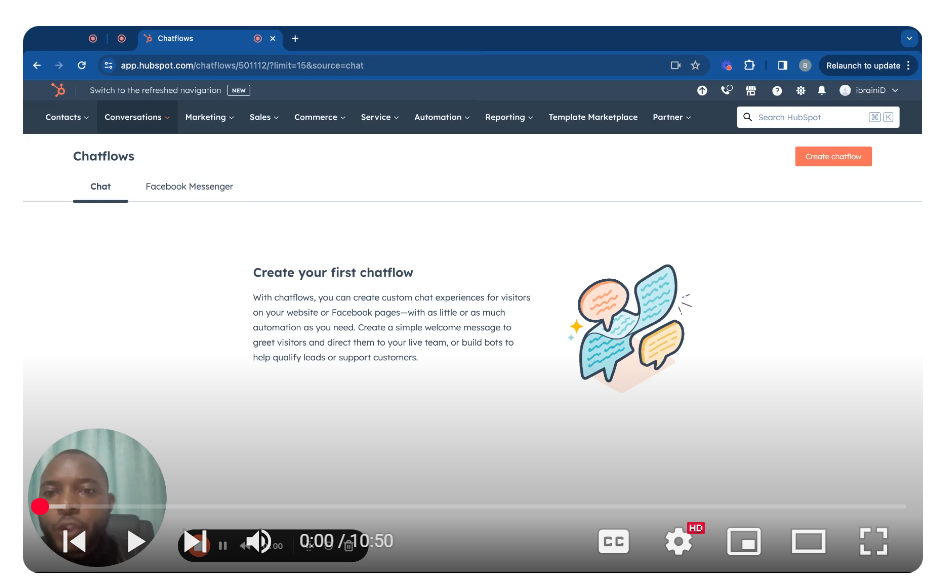
Maximize your customer engagement with HubSpot CRM by mastering chatflow creation! This tutorial provides a step-by-step guide on setting up tailored chat experiences for your website or Facebook pages, ensuring your visitors always have the support they need. 🔧 Key Steps:
- Access Chatflows: Navigate to the ‘Conversations’ tab in HubSpot and select ‘Chatflows’ to start creating your new chat experience.
- Choose Platforms: Decide whether your chatflow will serve website visitors, Facebook Messenger users, or both.
- Customize Appearance: Tailor the chat interface to align with your brand, choosing themes, avatars, and personalized messages to enhance visitor interaction.
- Set User Assignment: Configure your chatflow to automatically assign conversations to specific team members or departments, ensuring inquiries are directed to the right personnel.
- Define Availability: Specify when your team is available to chat by setting working hours or enabling 24/7 availability for automated responses.
🛠️ Practical Use-Cases: Implement a welcoming message that guides users to live support or provides immediate assistance through a bot. Use chatflows to qualify leads, provide instant customer support, and gather visitor information seamlessly. Enhance user engagement by offering a personalized interaction experience at every touchpoint.
Leave your comment